WhatsApp   International  

      Sly: Ingenious, Clever, Crafty.
México: 33-3109-4414
Global: (52)-33-3109-4414
WhatsApp: (521)-331-341-4060
eMail | Support | Live chat.
DNS change in windows 7:

  • Select Control Panel from the Start menu
  • Open up network and internet
  • Go to Network and sharing center
  • Clic on change adapter settings, on the left hand panel
  • This will bring up a list of adapters present on your computer. Most people will have a Local Area Connection while laptop users will add a Wireless Network Connection and possibly a Bluetooth Network Connection...go ahead and right click on Local Area Connection and click on Properties.
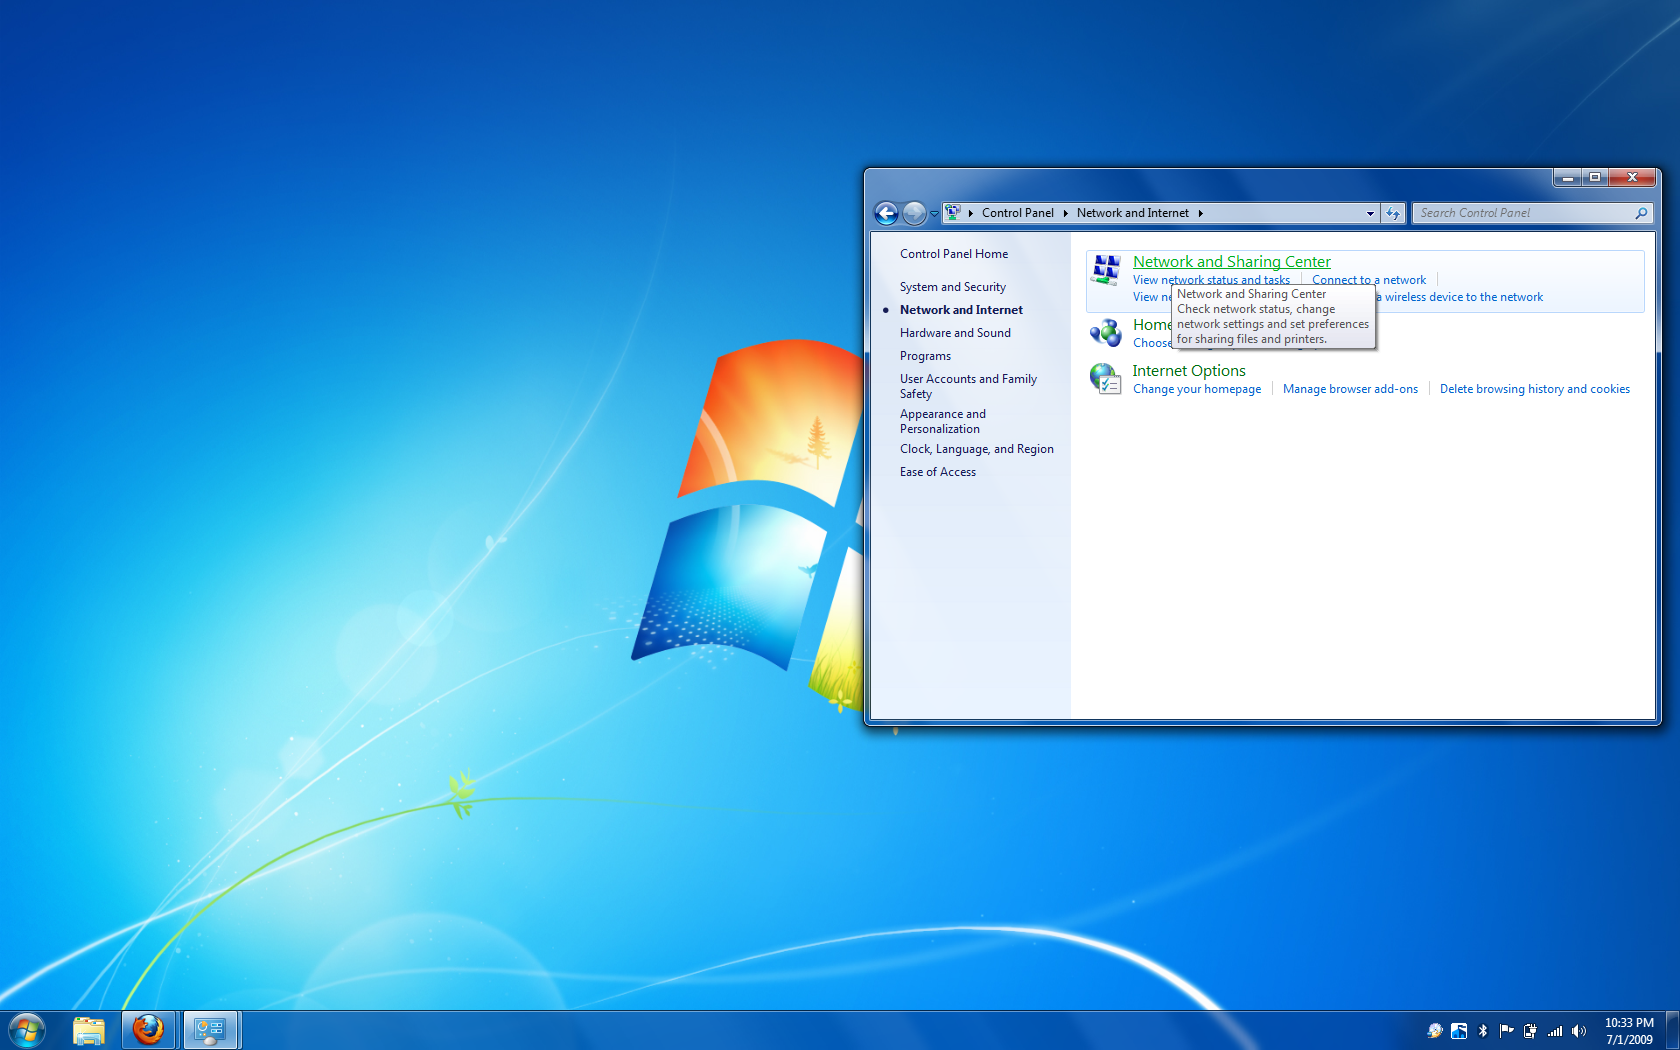
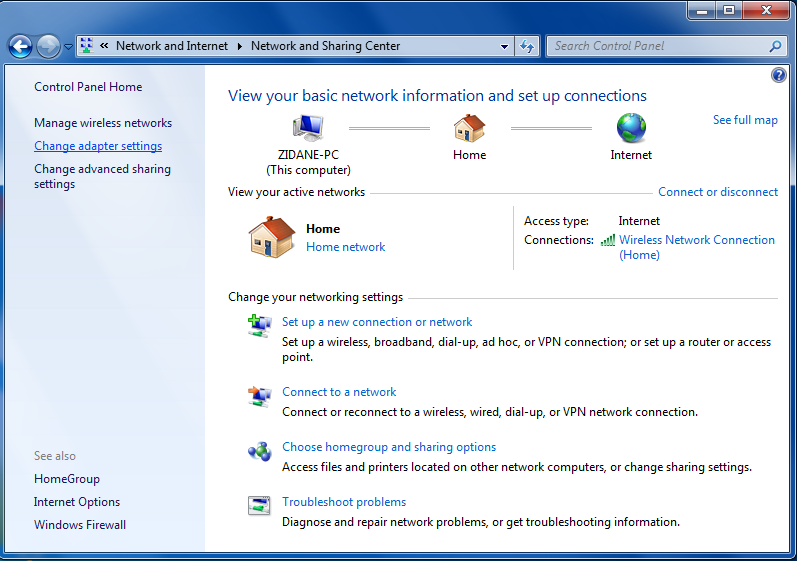
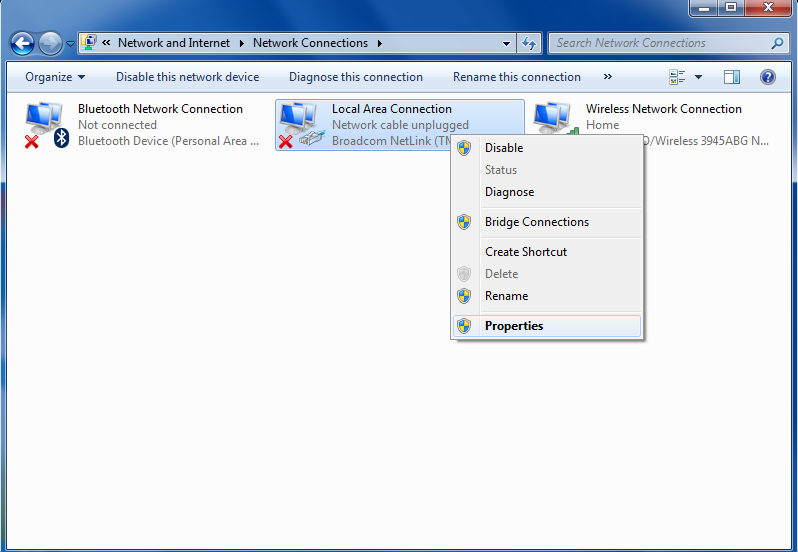
    NOTE: These steps do not change if you are modifying the Wireless Network Connection instead
  • if propted by UAC, clic on YES
  • Highlight Internet Protocol Version 4 (TCP/IPv4) and click on properties.
  • In the properties window you will see a few radio boxes with both of them saying Obtain an IP/DNS Address Automatically....we will leave the IP address alone and will change the Obtain DNS....to use the following:
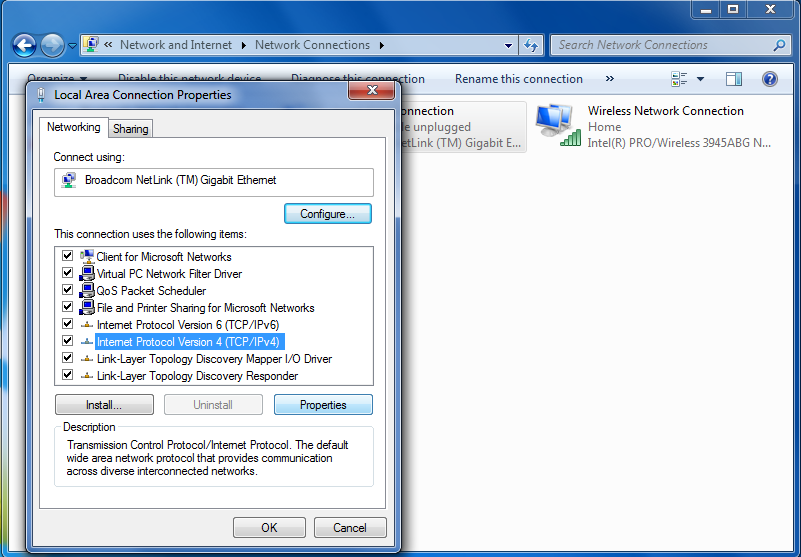
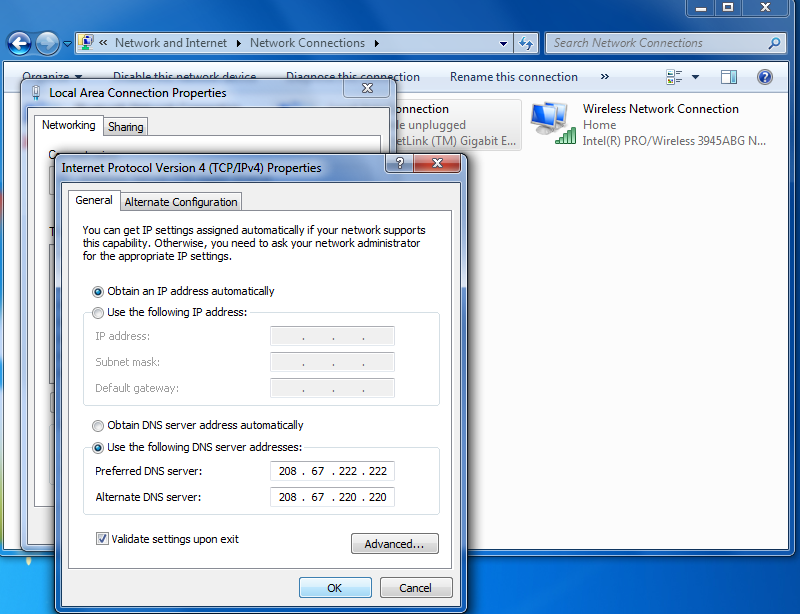
    In the Preferred DNS server boxes enter this sequence: 8.8.8.8
    In the Alternate DNS server boxes enter this sequence: 8.8.4.4

  • Check the validate settings upon exit (Optional) check box, click OK, and then Close to finish.
  • Windows will check your settings (if you checked the option above) and you will be finished! Now start surfing to feel the effects of a quicker and more secure browsing experience!

    Back